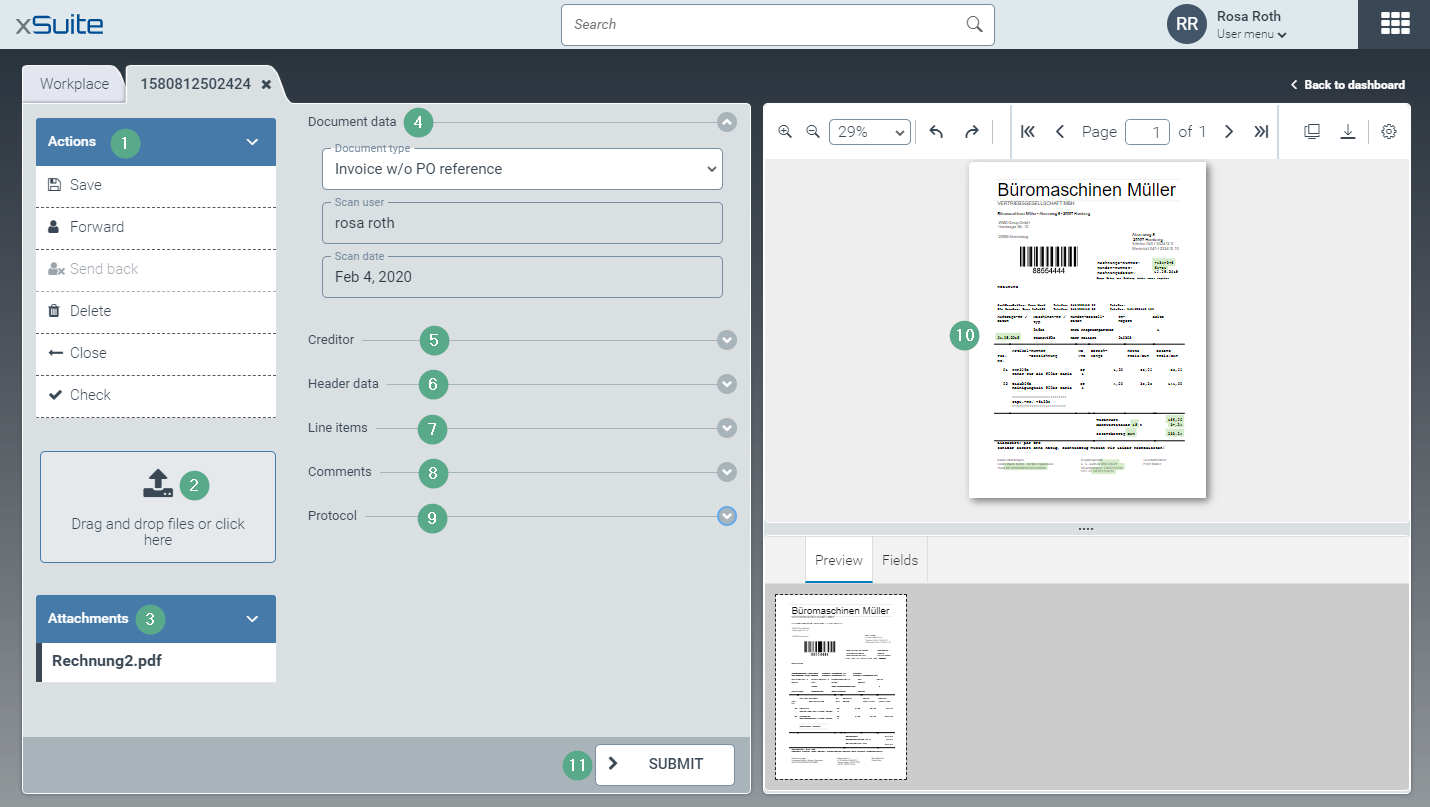
UI elements in the validation screen
Section | More information | |
|---|---|---|
1 | Actions area | |
2 | Upload area | |
3 | Attachments area | |
4 | Document data area | The document type, scan user and scan date are displayed here. |
5 | Creditor area | The data of the vendor/supplier is displayed here. |
6 | Header data area | The primary data of the document / work item is displayed here. |
7 | Line items area | The data of the business partner is displayed here. |
8 | Comments area | The comments that you and other users have created during classification, validation and forwarding of work items are displayed here. For information on how to create a comment, see Forwarding a work item and Creating a comment for a work item. |
9 | Protocol area | This is where the changes to the work item are logged. For each change, the user, the type and the time of the change are saved. |
10 | Document Viewer | See The Document Viewer. |
11 | Submit button | This confirms that validation has been completed. The document is sent to the next workflow step. The next step is defined in the validation scenario. For more information, see Validation scenarios. |