Tiles
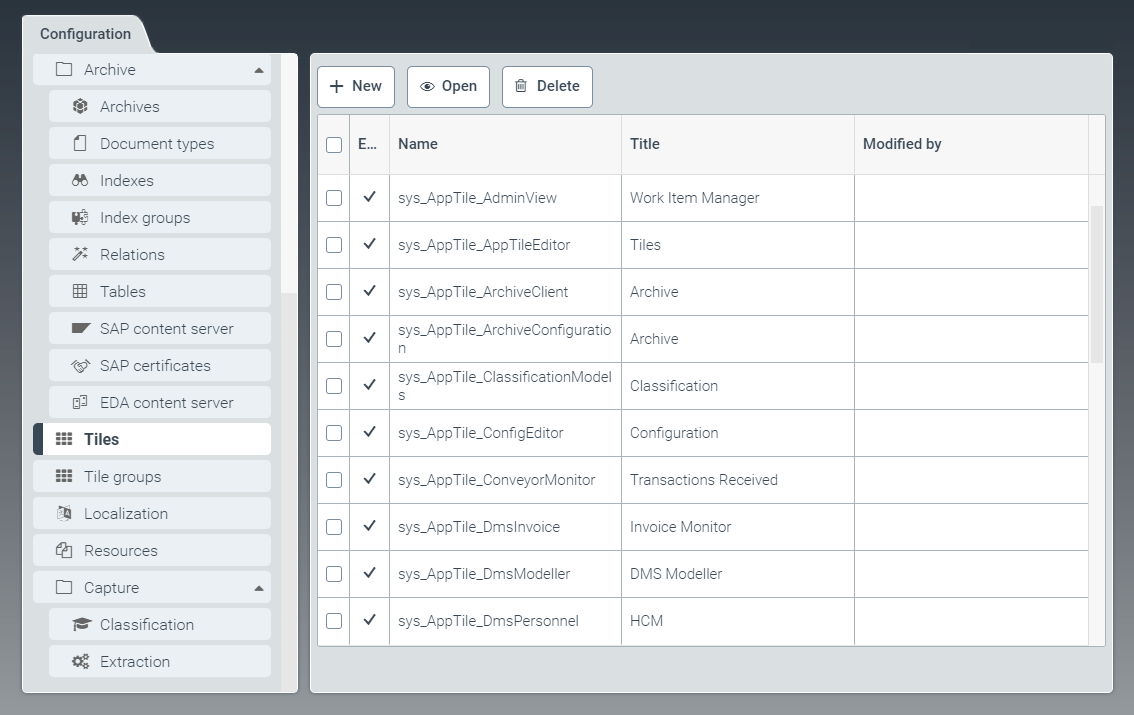 |
The tab Tiles is for creating new tiles and editing or deleting existing ones.
Here you can set the display of a tile, enable a tile, set permissions for a tile, and assign a tile to a tile group.
Tiles can be displayed either on the dashboard (dashboard tile) or within the configuration area (configuration tile).
The standard system comes with a number of tiles. These tiles have the prefix sys_.
Creating or editing a dashboard tile
From the configuration menu, open the Tiles window and click New, or click on a tile name in the table.
➣ The AppTile: New Tile or AppTile: {Tile name} window will open.
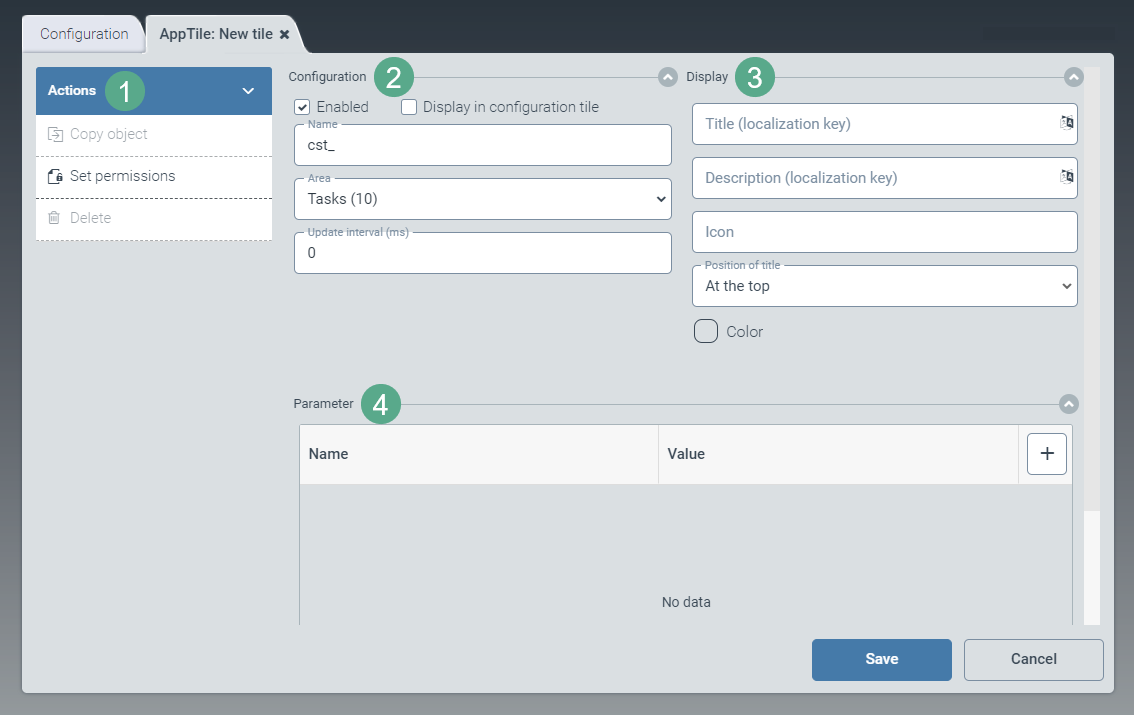
Enter the technical name of the tile in the field Name, in the Configuration pane (2).
The prefix
cst_is predefined and cannot be changed.Select the check box Enabled.
This check box specifies that the tile is listed in the App Catalog and can be displayed on the dashboard.
In the dropdown list Area, select a tile group for the tile.
The tile group determines the position of the tile on the dashboard. For more information on tile groups, see Tile groups.
In the field Update interval (ms), enter an update interval in milliseconds. The update interval will determine the interval at which the tile's counter will be updated.
Possible values:
0(no update) or1000to86400000Set the following values in the Display pane (3):
Field
Instructions
Title and Description
Enter the localization key for the title and description of the tile.
To open the Select localization dialog box, click the
 button.
For more information, see Selecting a localization.
Icon
Enter the name of the icon that will be displayed on the tile.
The icon name is composed of the prefix
fa-and the Font Awesome name (see Font Awesome Icons), e.g.fa-inbox.Position of title
Set the position of the tile title on the tile.
Possible values:
Value
Display on dashboard
At the top: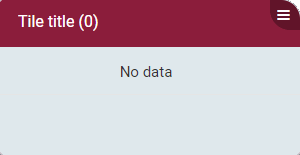
On the right:
On the left: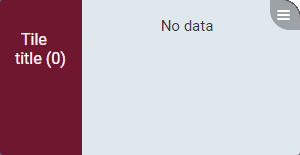
At the bottom: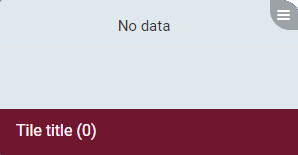
Color
Set the color of the tile.
In the action menu (1), click the option Set permissions and specify access authorizations.
Select from the following types of authorization:
Authorization
Description
Read
Unrestricted read rights to a tile
Update
Authorization to update a tile
Delete
Authorization to delete a tile
Authorize
Authorization to edit permissions
If necessary, enter a parameter in the Parameter pane (4) and specify the parameter value.
Available parameters:
Parameter
Value
ListingNameTechnical name of a hit list that will be included in the tile
Click Save.
➤ The dashboard tile has now been created and configured.
Notice
To create a copy of the tile currently open, click Copy object. The copy will be identified with the suffix _Copy postpended to the name of the tile.
To delete a tile that has been saved, click Delete.
Creating or editing a configuration tile
From the configuration menu, open the Tiles window and click New, or click on a tile name in the table.
➣ The AppTile: New Tile or AppTile: {Tile name} window will open.
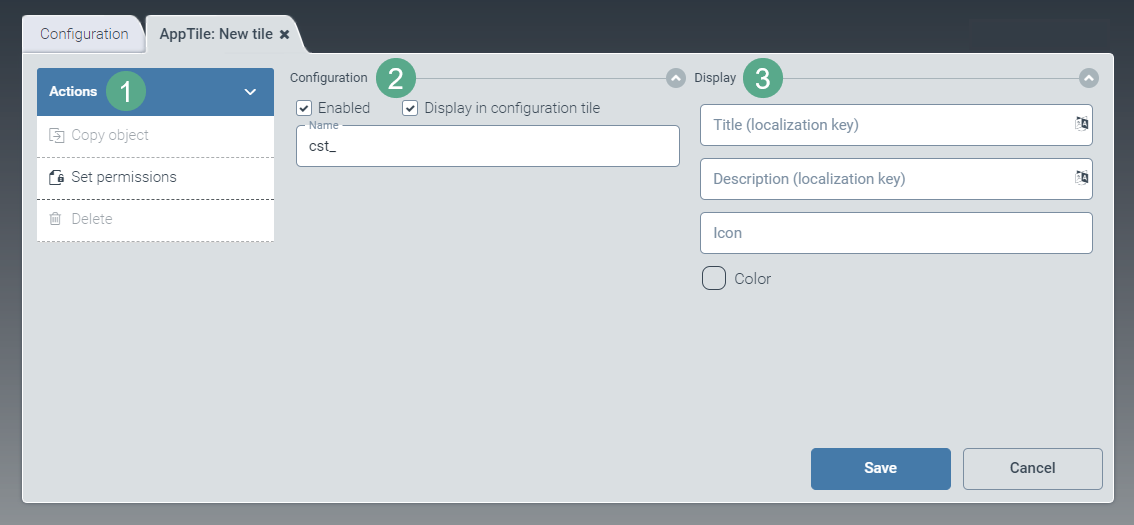
Enter the technical name of the tile in the field Name, in the Configuration pane (2).
The prefix
cst_is predefined and cannot be changed.Select the following check boxes:
Enabled: Defines that the tile will be displayed.
Display in configuration tile: Defines that the tile will be displayed as a tab in Configuration.
Set the following values in the Display pane (3):
Field
Instructions
Title and Description
Enter the localization key for the title and description of the tile.
To open the Select localization dialog box, click the
button.For more information, see Selecting a localization.
Icon
Enter the name of the icon that will be displayed on the tile.
The icon name is composed of the prefix
fa-and the Font Awesome name (see Font Awesome Icons), e.g.fa-inbox.Color
Set the color of the tile.
In the action menu (1), click the option Set permissions and specify access authorizations.
Select from the following types of authorization:
Authorization
Description
Read
Unrestricted read rights to a tile
Update
Authorization to update a tile
Delete
Authorization to delete a tile
Authorize
Authorization to edit permissions
Click Save.
➤ The configuration tile has now been created and configured.
Notice
To create a copy of the tile currently open, click Copy object. The copy will be identified with the suffix _Copy postpended to the name of the tile.
To delete a tile that has been saved, click Delete.