Creating a new workflow user
For a user to participate in the workflow, create the user with the user-administration functions. After creating a user, you can assign any number of roles to the user and add the user to any number of workflow groups.
On the start page, click on the tile Workflow Agents.
➣ User administration will open.
Click on the tile Workflow Agents.
Click the button
 Create Workflow Agent.
➣ The dialog Create Workflow Agent will open.
In the field BTP user ID, enter the ID of the user.
Notice
The user ID is the user's email address. Always enter the email address in lower case.
In the fields First name and Last name, enter the first and last names of the user.
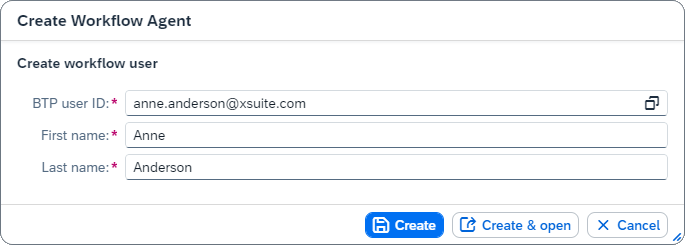
Click Create.
Notice
To open user data right after it has been created, click Create & open.
➤ The user has now been created.
Assigning a role to a user
Notice
In the current product version, assigning roles does not have any effect. In future product versions, the assignment of roles will determine which workflow tasks the user is permitted to handle.
Open the user data of a user.
Click
 Edit.
Edit.➣ The user data can now be edited.
In the User roles area, click the button
Create Role.➣ The dialog Select: Workflow roles will open.
In the list of available roles, select one or more roles to be assigned to the user:
ApprovalCompleteManualPostReleaseRevision
Note
[de] Es werden nur die Rollen angezeigt, die dem ausgewählten Benutzer nicht bereits zugeordnet sind.
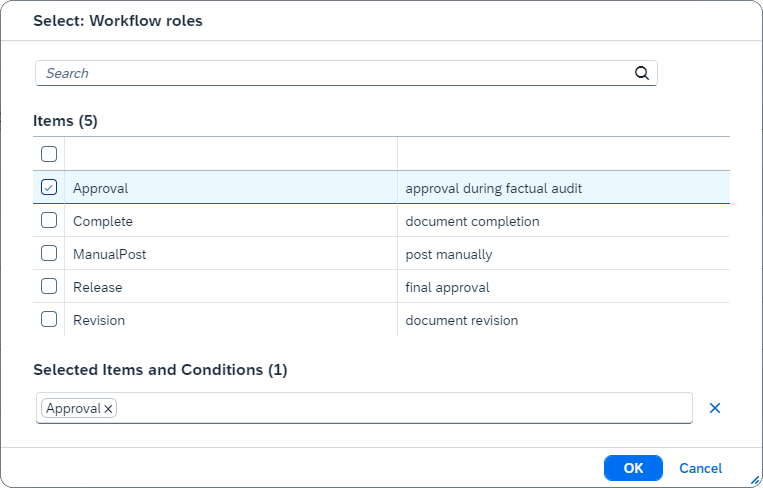
Click OK.
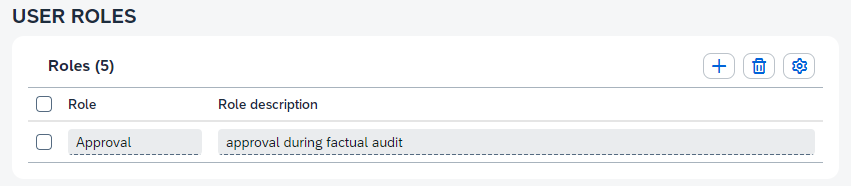
➣ The selected roles will appear in the list Roles.
Click
 Save and exit editing.
➤ The selected roles have now been assigned to the user.
Adding a user to a group
Open the user data of a user.
Click
Edit.➣ The user data can now be edited.
In the User groups area, click the button
Create Group.➣ The dialog Select: Groups will open.
In the list of available groups, select one or more groups to be assigned to the user.
Note
[de] Es werden nur die Gruppen angezeigt, die dem ausgewählte Benutzer nicht bereits zugeordnet sind.
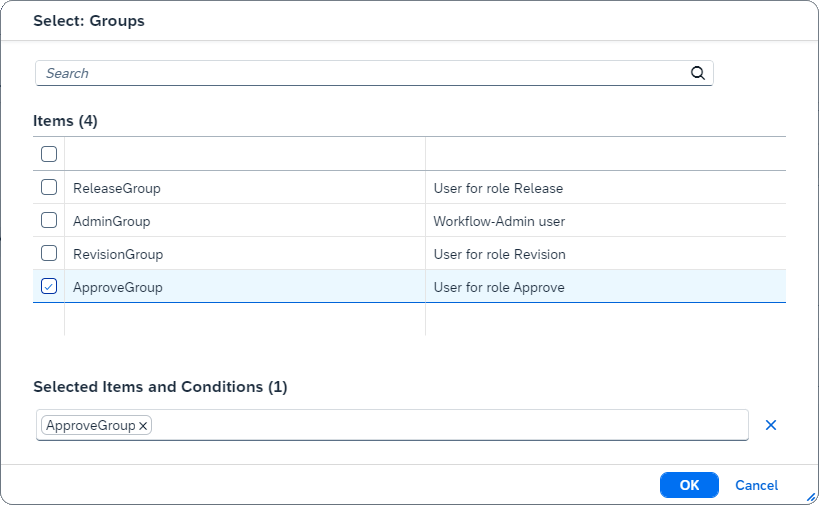
Click OK.
➣ The selected groups will appear in the list Groups.
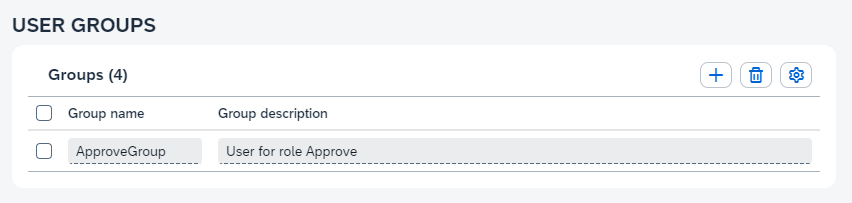
Click
Save and exit editing.➤ The selected groups have now been assigned to the user.
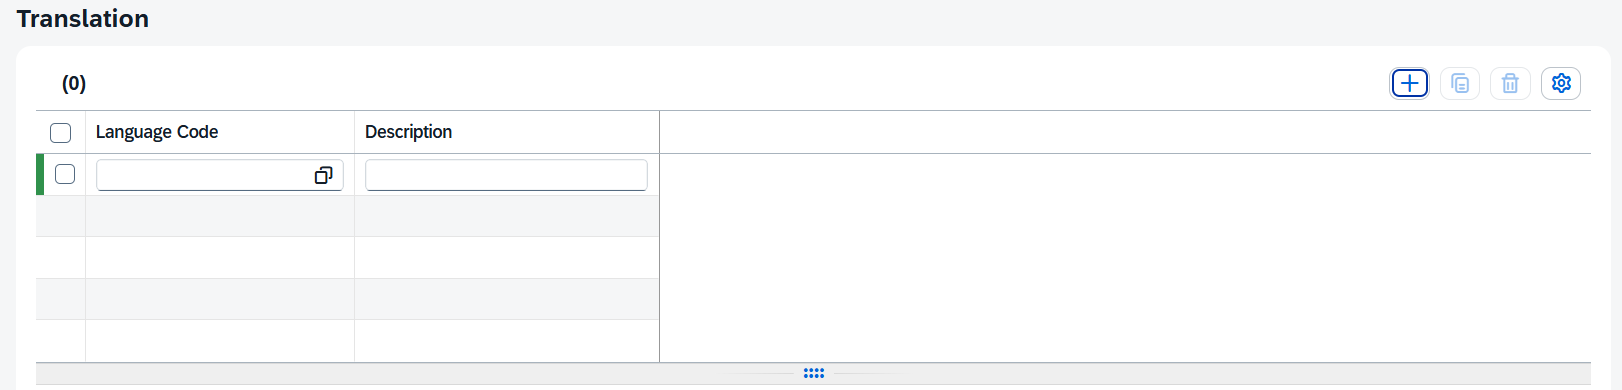
[de] Geben Sie die für die Lokalisierung benötigten Übersetzungen ein. Um einen Begriff neu zu erfassen, klicken Sie auf den Plus-Button.