Configuring the counter on the tiles
Notice
The following adjustments are only necessary if the RFC destination differs from the default value XSUITECUBE and/or no ITS tasks are used at the front end.
Notice
Configuration must be performed individually for the xSuite Inbox App (xSuitveAppInbox-content.zip) and the xSuite Check Customizing App (xSuiteAppCheckCustomizing-content.zip). The procedure is identical for both apps.
The following action steps describe the procedure for the xSuite Inbox App as an example.
Open the MTA archive file with a program such as "7-Zip."
Double-click on the folder
xSuiteCube_ui_deployerto open.Open the
xSuiteAppInbox-content.zipfile with a double click.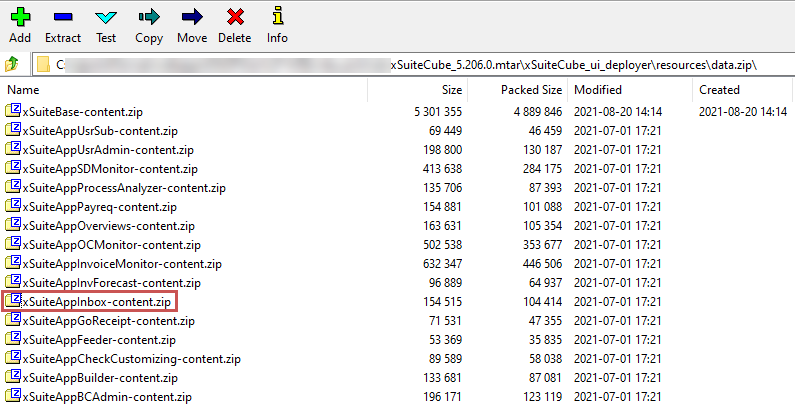
Right-click the
manifest.jsonfile, and then click Edit.
➣ The file will open in the editor.
Go to
sap.app > crossNavigation > inbounds > intent1 > indicatorDataSource > pathand replace the valueXSUITECUBEwith the name of the RFC destination.Notice
The name of the RFC destination corresponds to the value of the
nwgw_targetsparameter in thesettings.jsonin thexSuiteBase-content.zipfile.Ensure that the enclosing quotation marks remain present.
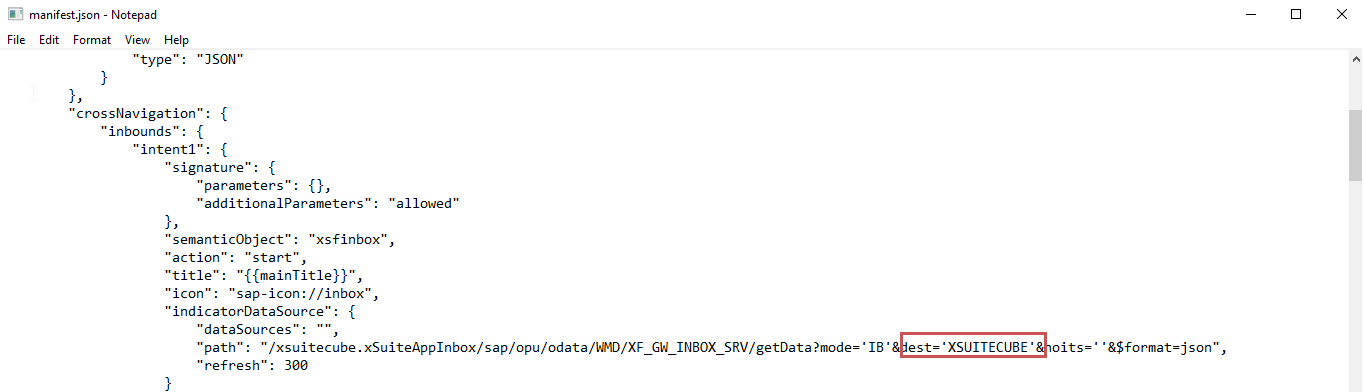
If no ITS tasks are used at the front end, insert the value
Xfor thenoitsparameter.
Save the changes to the file and close the editor.
➣ A security prompt will open.
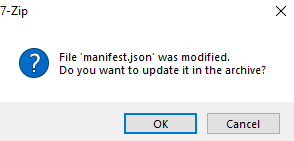
Confirm the security prompt with OK.
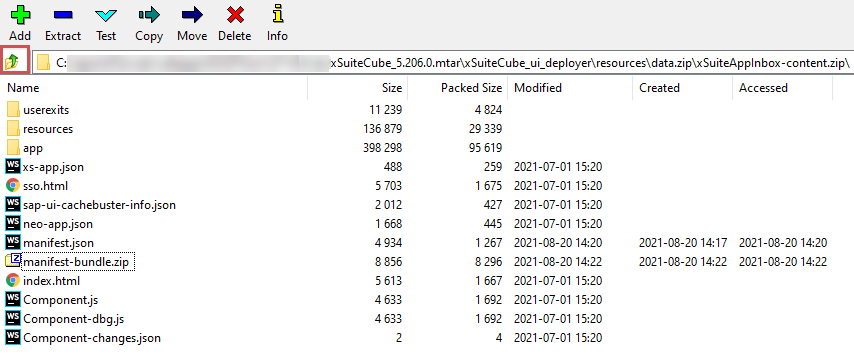
Open the
manifest-bundle.zipfile with a double click.Right-click on the
manifest.jsonfile, and then click Edit.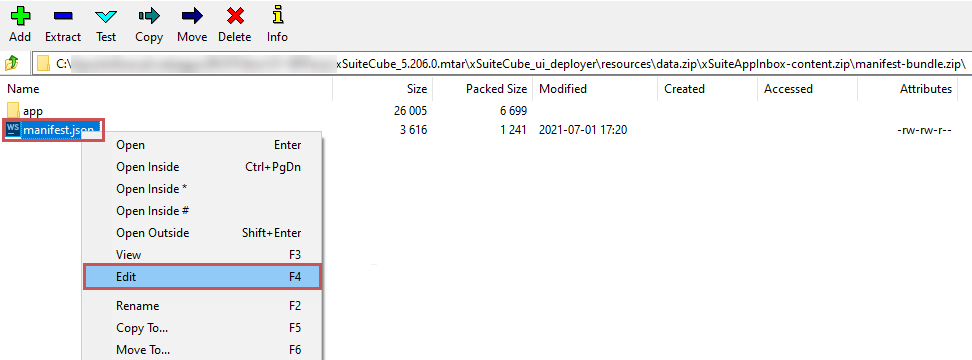
In this file as well, go to
sap.app > crossNavigation > inbounds > intent1 > indicatorDataSource > pathand replace the valueXSUITECUBEwith the name of the RFC destination.Save the changes to the file and close the editor.
➣ A security prompt will open.
Confirm the security prompt with OK.
Exit the
manifest-bundle.zipfile and thexSuiteAppInbox-content.zipfile respectively with a click on the button .
.
Confirm the security prompts with OK.
➤ The counter on the tile has now been configured.